
Setting up Developer Environment
Prerequisites
- Install Development Tools.
- Clone the
ep-commerceGit repository. For more information, see Source Code.
Configuring Environment Variables
Use this procedure to set system environment variables for:
- Java:
JAVA_HOMEandJAVA_OPTS - Maven:
MAVEN_HOMEandMAVEN_OPTS
Windows
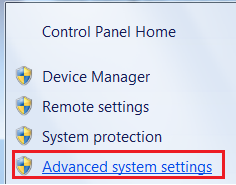
Open the Start menu, right-click My Computer and select Properties.
Click Advanced System Settings.
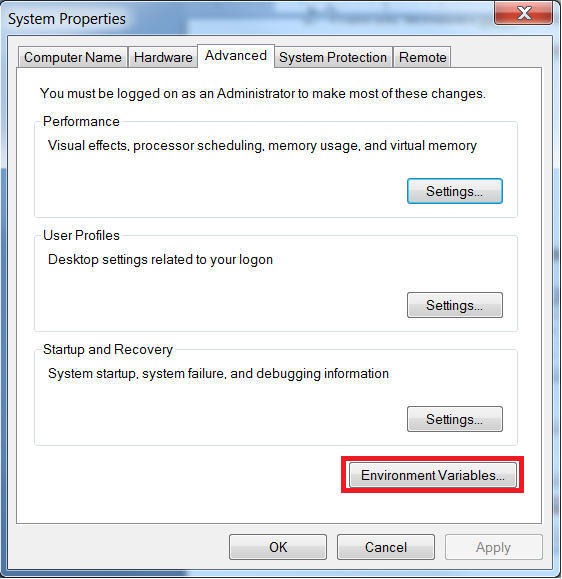
To quickly show the System Properties > Advanced > Environment Variables from the Windows Run prompt, type
SystemPropertiesAdvancedand press Enter.In the System Properties > Advanced, click Environment Variables.
To add a new system environment variable, on the Environment Variables window, click New.
Add the following:
JAVA_HOME:C:\Program Files\Zulu\zulu-21-amd64JAVA_OPTS:-Xmx2048m -Dsun.lang.ClassLoader.allowArraySyntax=trueMAVEN_HOME:C:\apache-maven-3.9.1MAVEN_OPTS:-Xmx4000m -Dsun.lang.ClassLoader.allowArraySyntax=true
The values for the
JAVA_HOMEandMAVEN_HOMEvariables depend on the location where Java and Maven are installed. This location might differ from the default values provided.Select the
Pathsystem variable, and click Edit.Add the following variables at the end of the
Pathvariable:;%JAVA_HOME%\bin;%MAVEN_HOME%\bin;
Mac and Linux
Modify your
~/.bash_profile(if using Bash shell) or~/.zshrc(if using zsh shell) in your home folder to set the required environment variables.export JAVA_HOME=$(/usr/libexec/java_home -v "17") export JAVA_OPTS="-Xmx2048m -Dsun.lang.ClassLoader.allowArraySyntax=true" export MAVEN_HOME=~/tools/apache-maven-3.9.1 export MAVEN_OPTS="-Xmx4000m -Dsun.lang.ClassLoader.allowArraySyntax=true" export PATH=$PATH:$JAVA_HOME/bin:$MAVEN_HOME/binOpen a new terminal window and verify the installation as follows:
$ java -version
openjdk version "21.0.9" 2025-10-21 LTS
OpenJDK Runtime Environment Zulu21.46+19-CA (build 21.0.9+10-LTS)
OpenJDK 64-Bit Server VM Zulu21.46+19-CA (build 21.0.9+10-LTS, mixed mode, sharing)

$ mvn -version
Apache Maven 3.9.1 (2e178502fcdbffc201671fb2537d0cb4b4cc58f8)
Maven home: ~/tools/apache-maven-3.9.1
Java version: 21.0.9, vendor: Azul Systems, Inc., runtime: /Library/Java/JavaVirtualMachines/zulu-21.jdk/Contents/Home
Default locale: en_US, platform encoding: UTF-8
OS name: "mac os x", version: "26.2", arch: "aarch64", family: "mac"
Optionally install
jenvto allow easy switching between Self-Managed Commerce source code repos that require Java 8, Java 17 or Java 21. Once this is installed, your machine will automatically use the correct version of Java based on the value found in the.java-versionfile in the source code repository.Add your JDKs to
jenvas in the following example:jenv add /Library/Java/JavaVirtualMachines/zulu-8.jdk/Contents/Home/ jenv add /Library/Java/JavaVirtualMachines/zulu-17.jdk/Contents/Home/ jenv add /Library/Java/JavaVirtualMachines/zulu-21.jdk/Contents/Home/Enable the
jenvplugins:jenv enable-plugin maven jenv enable-plugin exportSet Java 1.8 as your default:
jenv global 1.8Run
jenv doctorto ensure that everything is configured properly:jenv doctorDouble-check that the versions are configured properly:
jenv versions
Configure Maven settings.xml
With a Maven Repository Manager
A Maven repository manager is required for effective shared development. If your team has prepared the Maven repository manager then complete the below instructions to configure your settings.xml to use it. For more information about configuring a Maven repository manager, see Maven Repository Manager.
Before you build the source code, create a local Maven directory and update the settings.xml file.
Create an
.m2directory in your local user home directory. Example:mkdir ~/.m2Copy the
settings.xmlfile from theextensions/mavenfolder of theep-commercesource code to your~/.m2folder.Edit the following values in the
settings.xmlfile to match your local developer environment.Setting Description internet-mirrorThe URL of your organization’s Maven Repository Manager (usually Nexus). See Setup Artifact Repository Manager. activeProfileEnable one of the *-dev-dbprofiles that corresponds to the local database type that you want to use. See Local Database Setup.epdb.reset_userThe name of the user with administrative permissions that can drop and create databases and users in your local database. epdb.reset_passwordThe password for user with administrative permissions that can drop and create databases and users in your local database. ep.local.asset.pathThe path to your local extensions/assets/ext-assets/src/main/assetssource directory.ep.smtp.hostThe host name of your SMTP server. Set to mail-disabled-for-teststo disable email sending.warning
If these property values do not exist in the
settings.xmlfile then you may have issues locally building and deploying the Self-Managed Commerce Web Applications.
Without A Maven Repository Manager
If your team has not yet prepared the Maven repository manager then complete the below instructions to configure your settings.xml to define the repositories locally. For more information about configuring a Maven repository manager see Maven Repository Manager.
The extensions module in Self-Managed Commerce source contains a maven/individual-settings.xml that you can use if your Maven repository manager is not yet ready.
Copy
individual-settings.xmlto${user.home}/.m2and rename it tosettings.xml.Change
EP_REPOSITORY_USERandEP_REPOSITORY_PASSWORDto the credentials used for connecting to the public Elastic Path Maven repository.<servers> <server> <id>ep-public</id> <username>EP_REPOSITORY_USER</username> <password>EP_REPOSITORY_PASSWORD</password> </server> <server> <id>ep-cortex</id> <username>EP_REPOSITORY_USER</username> <password>EP_REPOSITORY_PASSWORD</password> </server> <server> <id>ep-commerce-engine</id> <username>EP_REPOSITORY_USER</username> <password>EP_REPOSITORY_PASSWORD</password> </server> <server> <id>ep-accelerators</id> <username>EP_REPOSITORY_USER</username> <password>EP_REPOSITORY_PASSWORD</password> </server> </servers>Make any changes required for your project environment.
Local IDE Setup
Elastic Path recommends that developers use the IntelliJ Idea IDE. Make sure that your version is 2023.3.0 or newer.
Setup Code Formatting
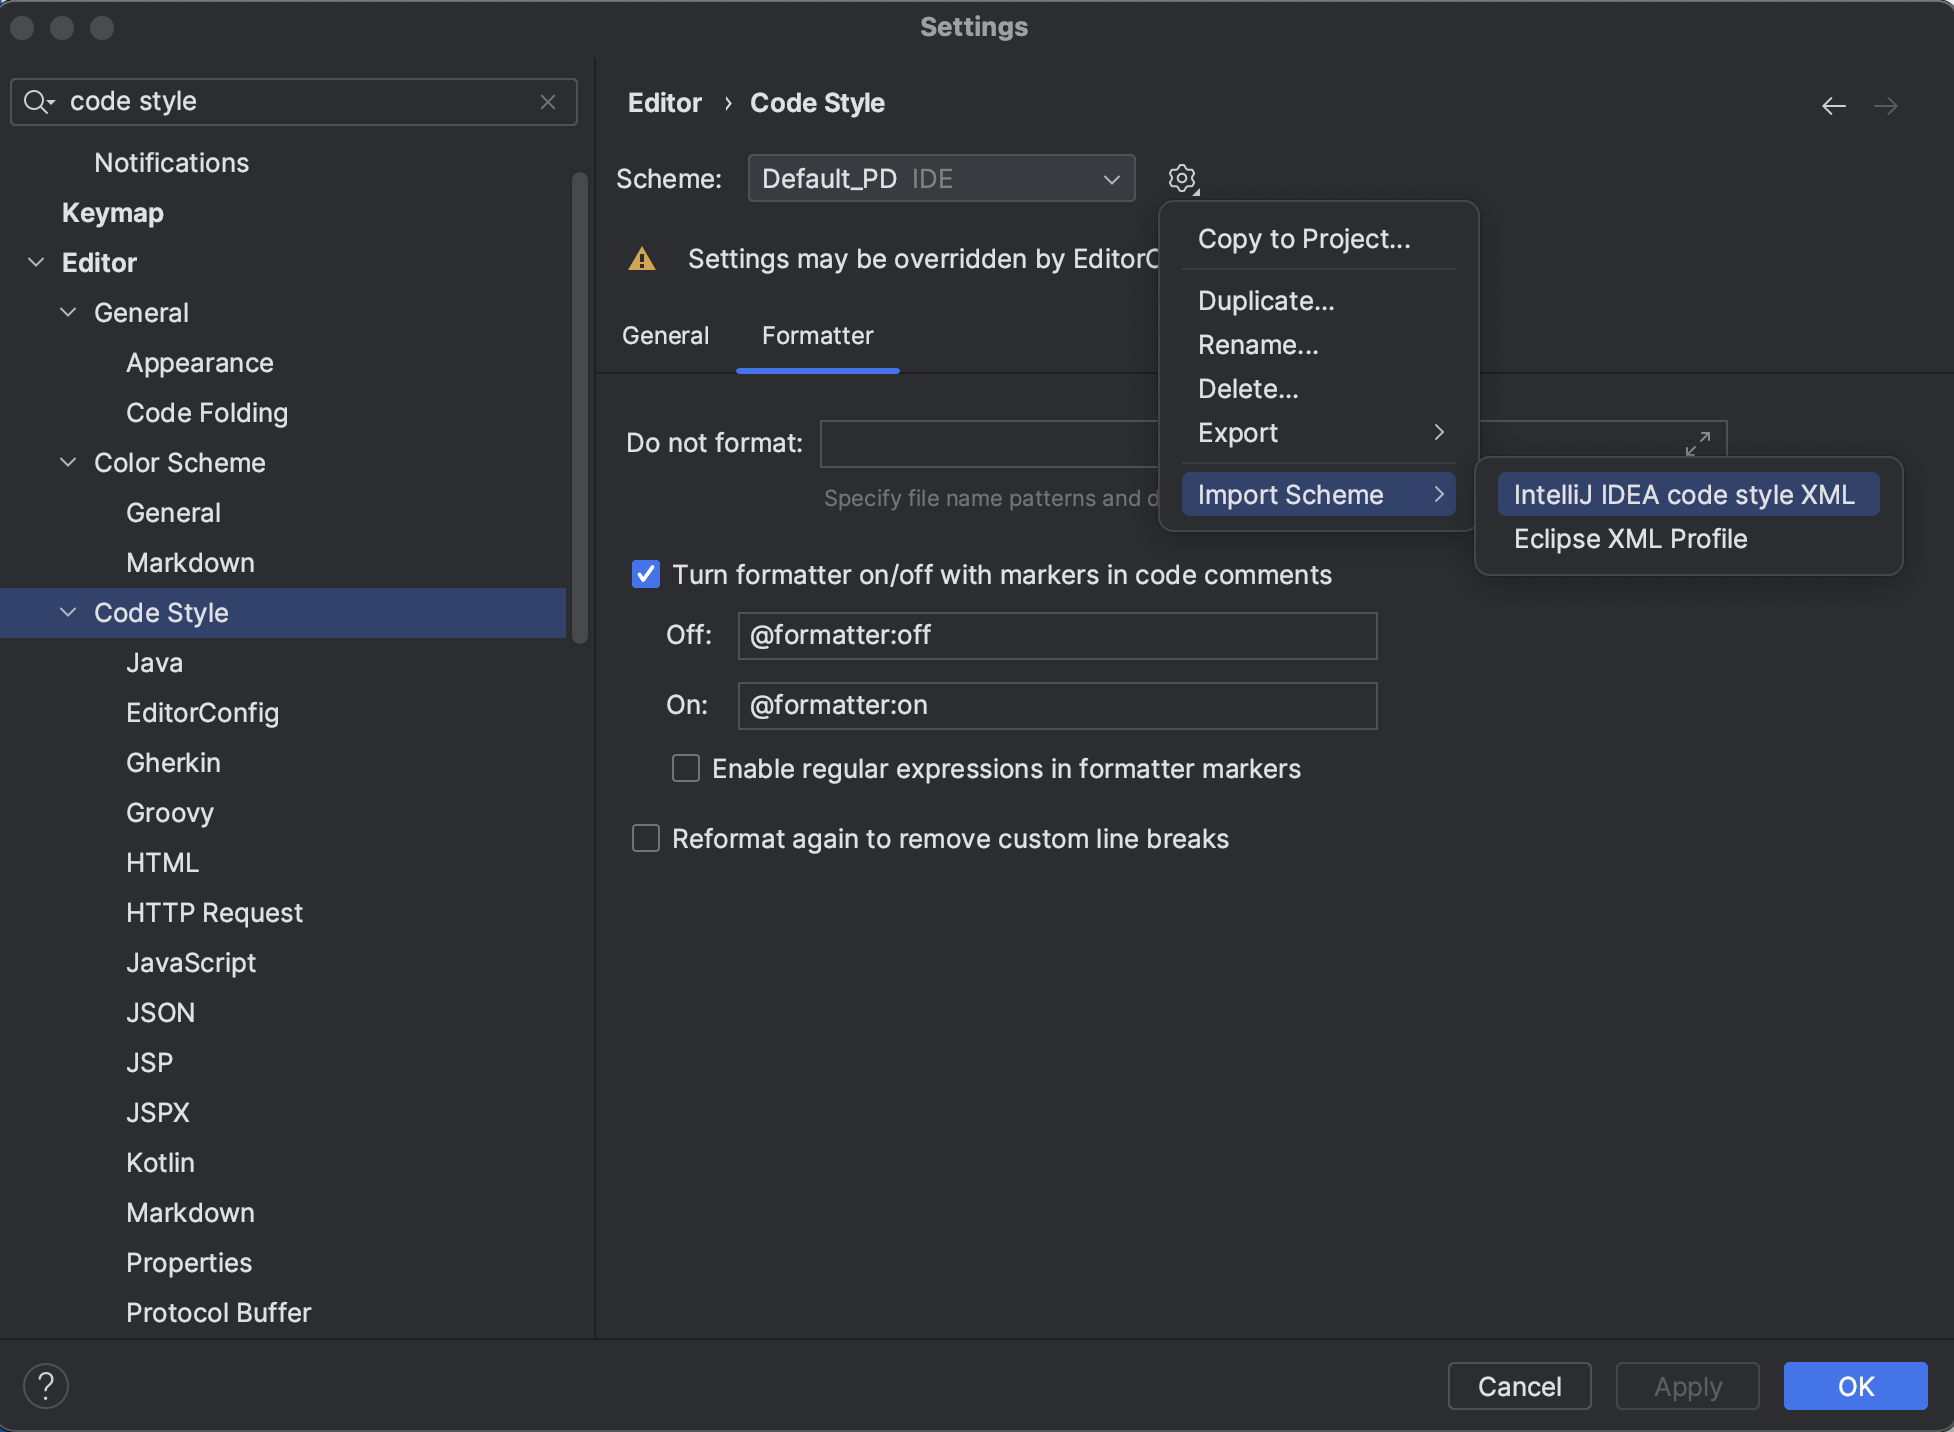
We recommend importing the Elastic Path code style, which ensures that formatted code follows our standard best practices.
Open "Settings", then navigate to "Editor" --> "Code Style". Click the gear icon beside the scheme, and choose "Import Scheme" --> "IntelliJ IDE code style XML". Then use the file browser to select the devops/intellij/code-style.xml from the ep-commerce source code.
Install Plugins
We recommend installing the following plugins:
- Cucumber for Java
- Gherkin
Follow these steps:
- In the IntelliJ menu, select "IntelliJ IDEA" --> "Settings".
- Navigate to "Plugins".
- Make sure that the plugins listed above are showing in the "Installed" tab. If not, search for them in the "Marketplace" tab and click "Install".
- Run "File" --> "Invalidate Caches..." --> "Invalidate and Restart".
Compiler Settings
You should change the default compiler settings in IntelliJ to disable deprecation warnings, as you will occasionally get errors while building.
Follow these steps:
- In the IntelliJ menu, select "IntelliJ IDEA" --> "Settings".
- Navigate to "Build, Execution, Deployment" --> "Compiler" --> "Java Compiler".
- Under the "Javac Options", uncheck "Report use of deprecated features".
Maven Settings
You should change the default Maven settings in IntelliJ to ensure that JDK 17 is being used, and Maven 3.9.1 or later is being used.
Follow these steps:
- In the IntelliJ menu, select "IntelliJ IDEA" --> "Settings".
- Navigate to "Build, Execution, Deployment" --> "Build Tools" --> "Maven".
- Set "Maven home path" to "Bundled (Maven 3)", which should set the "Version" field to 3.9.1 (or later).
- Navigate to "Importing" under the current node.
- Set "VM Options for importer" to "-Xmx3G".
- Set "JDK for importer" to "zulu-21".
Associate Feature File Type to Cucumber Scenario
Follow these steps:
- In the IntelliJ menu, select "File" --> "File Properties" --> "Associate with File Type..."
- Enter file pattern
*.feature, and select "Cucumber Scenario" in the list. - Click "OK".
Importing the Source
Follow these steps:
- In the IntelliJ menu, select "File" --> "Open...".
- Navigate to the root folder of the source to open, for example
~/git/ep-commerce. - Click "Open".
- Wait for the project to finish loading and indexes to complete building.
Project SDK Settings
Make sure that IntelliJ is using the Java 21 JDK for internal builds. By default, IntelliJ may detect that the source is using Java 21, since the code compiles to Java 21 bytecode.
If IntelliJ is not configured properly, the Java classes will not resolve properly, and you see the following error message:
Unable to provision, see the following errors:

1) Error in custom provider, java.lang.TypeNotPresentException: Type org.eclipse.tycho.core.maven.TychoMavenLifecycleParticipant not present
  at ClassRealm[extension>org.eclipse.tycho:tycho-maven-plugin:4.0.0, parent: jdk.internal.loader.ClassLoaders$AppClassLoader@5c29bfd] (via modules: org.eclipse.sisu.wire.WireModule -> org.eclipse.sisu.plexus.PlexusBindingModule)
  while locating org.apache.maven.AbstractMavenLifecycleParticipant annotated with @com.google.inject.name.Named(value="TychoMavenLifecycleListener")

1 error
Follow these steps:
- Right-click on the root project (
ep-commerce [commerce-parent]). - Click "Open Module Settings".
- Navigate to "Project Settings" --> "Project".
- Change SDK to "zulu-21" (it will likely be set to "zulu-21").
- Then right-click on the root project
pom.xml, and click "Maven" --> "Reload Project".
Local Database Setup
Self-Managed Commerce supports multiple database engines. Depending on which engine you choose, you will want to setup the corresponding database on your local development environment. Follow the steps in the appropriate section below.
MySQL
In a command prompt, run the shell command below to download and run the MySQL Docker image.
For MySQL 8.4:
docker run --name mysql-84-db --env="MYSQL_ROOT_PASSWORD=mysecretpassword" -p 3306:3306 -d mysql:8.4 --transaction_isolation=READ-COMMITTED --lower_case_table_names=1 --max_connections=1000For MySQL 8.0:
docker run --name mysql-80-db --env="MYSQL_ROOT_PASSWORD=mysecretpassword" -p 3306:3306 -d mysql:8.0 --transaction_isolation=READ-COMMITTED --lower_case_table_names=1 --max_connections=1000note
It is recommended to change
mysecretpasswordto something more secure.Edit your
~/.m2/settings.xml:- In the
<activeProfiles>section, verify thatmysql-dev-dbis active and all other profiles ending with-dev-dbare commented out. - Check the
mysql-dev-dbprofile definition and ensure thatepdb.reset_passwordis set to the password you defined when starting the Docker image.
- In the
Browse to your Self-Managed Commerce repo, open folder
extensions/databaseand run the following command:mvn clean install -Preset-db.
PostgreSQL
A PostgreSQL database server can contain one or more named databases. Each database can contain one or more named schemas, which in turn contain tables. The Data Population tool will initialize a schema, but a database needs to be manually created first, using the instructions below.
In a command prompt, run the shell command below to download and run the PostgreSQL Docker image.
docker run --name postgresql-16-db --env="POSTGRES_PASSWORD=mysecretpassword" -p 5432:5432 -d postgres:16 -c max_connections=1000note
It is recommended to change
mysecretpasswordto something more secure.Download and install pgAdmin.
Use following default credentials to connect to your PostgreSQL database from pgAdmin:
Username:postgresPassword: The password you defined when starting the Docker image.Hostname:localhostPort:5432
Create a new database with name
COMMERCEDB.Edit your
~/.m2/settings.xml:In the
<activeProfiles>section uncommentpostgresql-dev-dband comment out all other profiles ending with-dev-db.Check the
postgresql-dev-dbprofile definition and ensure thatepdb.reset_useris set topostgresandepdb.reset_passwordis set to the password you defined when starting the Docker image.epdb.schemanameis set to public by default. This can be changed to any other value.note
PostgreSQL converts schema name string to lowercase regardless of the value specified.
Browse to your Self-Managed Commerce repo, open folder
extensions/databaseand run the following command:mvn clean install -Preset-db.
Oracle
If you are running on an M1 or M2 Macbook, follow the Install Oracle (M1/M2 Mac only) instructions. For all other operating systems, follow the Install Oracle (Non-M1/M2 Mac and Windows) instructions.
Install Oracle (M1/M2 Mac only)
Ensure that Docker is installed and running on your local machine.
In a command prompt, run the shell commands below to login, download, and run the Docker image. Replace
<email>and<password>with your Oracle credentials. Also feel free to change the Oracle database password specified inORACLE_PWD.docker run -d --name oracle-19-db -p 1521:1521 -e ORACLE_PWD=mysecretpassword codeassertion/oracledb-arm64-standalone:19.3.0-enterpriseEnsure that Oracle is running on Docker using
docker ps. You should see a container namedoracle-19-db.The container may take several minutes to start the first time. Monitor progress by viewing the Docker logs. Run
docker logs -f oracle-19-db. When the logs showDATABASE IS READY TO USE!, Oracle is started.Follow the steps in Set max_string_size to extended.
Install Oracle (Non-M1/M2 Mac and Windows)
Ensure that Docker is installed and running on your local machine.
In a command prompt, run the shell commands below to login, download, and run the Docker image. Replace
<email>and<password>with your Oracle credentials. Also feel free to change the Oracle database password specified inORACLE_PWD.docker run -d --name oracle-19-db -p 1521:1521 -e ORACLE_PWD=mysecretpassword container-registry.oracle.com/database/enterprise:19.3.0.0Ensure that Oracle is running on Docker using
docker ps. You should see a container namedoracle-19-db.The container may take several minutes to start the first time. Monitor progress by viewing the Docker logs. Run
docker logs -f oracle-19-db. When the logs showDATABASE IS READY TO USE!, Oracle is started.Follow the steps in Set max_string_size to extended.
Set Max String Size to Extended
Open a terminal window to the Docker container.
docker exec -it oracle-19-db bashIn the terminal window, run the following commands:
export ORACLE_SID=ORCLCDB
sqlplus sys/mysecretpassword as sysdba
Within
sqlplus, run the following commands, one at a time, to start theEXTENDEDmode upgrade:ALTER SESSION SET CONTAINER=CDB$ROOT;ALTER SYSTEM SET max_string_size=extended SCOPE=SPFILE;SHUTDOWN IMMEDIATESTARTUP UPGRADEquitIn the terminal, run the following commands to finish the
EXTENDEDmode upgrade for the containerized databases:cd $ORACLE_HOME/rdbms/admin $ORACLE_HOME/perl/bin/perl $ORACLE_HOME/rdbms/admin/catcon.pl -u SYS --force_pdb_mode 'UPGRADE' -d $ORACLE_HOME/rdbms/admin -b utl32k_cdb_pdbs_output utl32k.sql sqlplus sys/mysecretpassword as sysdbaWithin
sqlplus, run the following commands, one at a time, to restart the database:SHUTDOWN IMMEDIATESTARTUPquitRun the following commands to finish the
EXTENDEDmode upgrade for the main database:cd $ORACLE_HOME/rdbms/admin $ORACLE_HOME/perl/bin/perl $ORACLE_HOME/rdbms/admin/catcon.pl -u SYS --force_pdb_mode 'READ WRITE' -d $ORACLE_HOME/rdbms/admin -b utlrp_cdb_pdbs_output utlrp.sqlExit the Docker container.
exitFollow the steps in Create database schema.
Create database schema
Modify the
oracle-dev-dbprofile in your Mavensettings.xmlas specified below.<profile> <id>oracle-dev-db</id> <properties> <epdb.host>localhost</epdb.host> <epdb.port>1521</epdb.port> <epdb.databasename>ORCLPDB1</epdb.databasename> <epdb.username>COMMERCEDB</epdb.username> <epdb.password>ep</epdb.password> <epdb.reset_databasename>ORCLCDB</epdb.reset_databasename> <epdb.reset_user>sys as sysdba</epdb.reset_user> <epdb.reset_password>mysecretpassword</epdb.reset_password> <epdb.default.tablespace>COMMERCE</epdb.default.tablespace> <epdb.temporary.tablespace>COMMERCETEMP</epdb.temporary.tablespace> <ep.database.timezone>UTC</ep.database.timezone> </properties> </profile>Edit your
~/.m2/settings.xml:- In the
<activeProfiles>section uncommentoracle-dev-dband comment out all other profiles ending with-dev-db. - Check the
oracle-dev-dbprofile definition and ensureepdb.reset_passwordis set to the password you defined when starting the Docker image.
- In the
Browse to your Self-Managed Commerce repo, open folder
extensions/databaseand run the following command:mvn install -Preset-db.(Optional) Download and install SQLDeveloper.
(Optional) Use following default credentials to connect to your Oracle database from SQL Developer:
Username:COMMERCEDBPassword:epHostname:localhostPort:1521Service name:ORCLPDB1
Stop Lima (M1/M2 Mac Only)
Follow these steps to safely shut down Lima.
Connect to the Lima VM console.
limaStop Docker.
nerdctl stop oracle-19-dbExit the Lima VM console.
exitStop the Lima VM.
limactl stop
Start Lima (M1/M2 Mac Only)
Follow these steps to start Lima again after you've completed the setup steps and previously stopped Lima.
Start the Lima VM.
limactl startConnect to the Lima VM console.
limaStart the Oracle Docker image.
nerdctl start oracle-19-dbThe container should start within a couple of minutes. Monitor progress by viewing the Docker logs. Run
nerdctl logs -f oracle-19-db. When the logs showDATABASE IS READY TO USE!, Oracle is started.Exit the Lima VM console.
exit